Summary
The article discusses how to prepare your home for a professional photo shoot. It explains that hiring a professional photographer can make your home look more appealing and inviting to potential buyers, renters, or followers. The article provides tips on how to clean and declutter your home, as well as stage and style it to create an attractive look. It also suggests checking for any flaws or errors before the photo shoot and communicating with the photographer to ensure your expectations are met.
Get Your Home Ready for a Professional Photo Shoot
If you are planning to sell your home, rent it out, or showcase it on social media, you might want to hire a professional photographer to capture its best features. A professional photo shoot can make your home look more appealing, spacious, and inviting to potential buyers, renters, or followers. However, before you schedule a photo shoot, you need to prepare your home for the camera.

Here are some tips on how to get your home ready for a professional photo shoot.
Clean and Declutter
The first and most important step is to clean and declutter your home. A clean and tidy home will look more spacious, bright, and attractive in photos. You don’t want any dust, dirt, stains, or clutter to distract from your home’s beauty. Here are some things to do:
-
- Dust and wipe all surfaces, including furniture, countertops, appliances, windows, mirrors, and floors.
- Vacuum and mop all floors, and shampoo carpets and rugs if needed.
- Remove any personal items, such as photos, magazines, toys, clothes, or mail, from the visible areas. You want to create a neutral and inviting space that anyone can imagine living in.
- Organize and store any items that you don’t need or use, such as books, DVDs, tools, or kitchenware, in closets, cabinets, or boxes. You can also donate or sell any items that you no longer want or need.
- Empty all trash cans and recycling bins, and hide them from view.
Stage and Style
The next step is to stage and style your home to make it look more appealing and cozy. Staging and styling involve arranging furniture, accessories, and décor to create a harmonious and attractive look. You can use your own items, or hire a professional stager or stylist to help you. Here are some things to do:
-
- Arrange furniture in a way that maximizes space, flow, and function. You can also remove any excess or bulky furniture that makes the room look cramped or crowded.
- Add some pops of color and texture with pillows, throws, rugs, curtains, plants, flowers, or artwork. These items can add some personality and warmth to your home, and make it look more inviting and lived-in.
- Set the mood with lighting. Make sure to open all curtains and blinds to let in natural light, and turn on all lamps and overhead lights to create a bright and airy feel. You can also use candles, fairy lights, or dimmers to create a cozy and romantic ambiance.
- Make the beds with clean and crisp linens, and fluff the pillows. You can also add some decorative pillows or a throw blanket to make the bed look more comfortable and inviting.
- Make the bathrooms look spa-like with fresh towels, soap, lotion, candles, or flowers. You can also hide any personal items, such as toothbrushes, razors, or shampoo bottles, in drawers or cabinets.
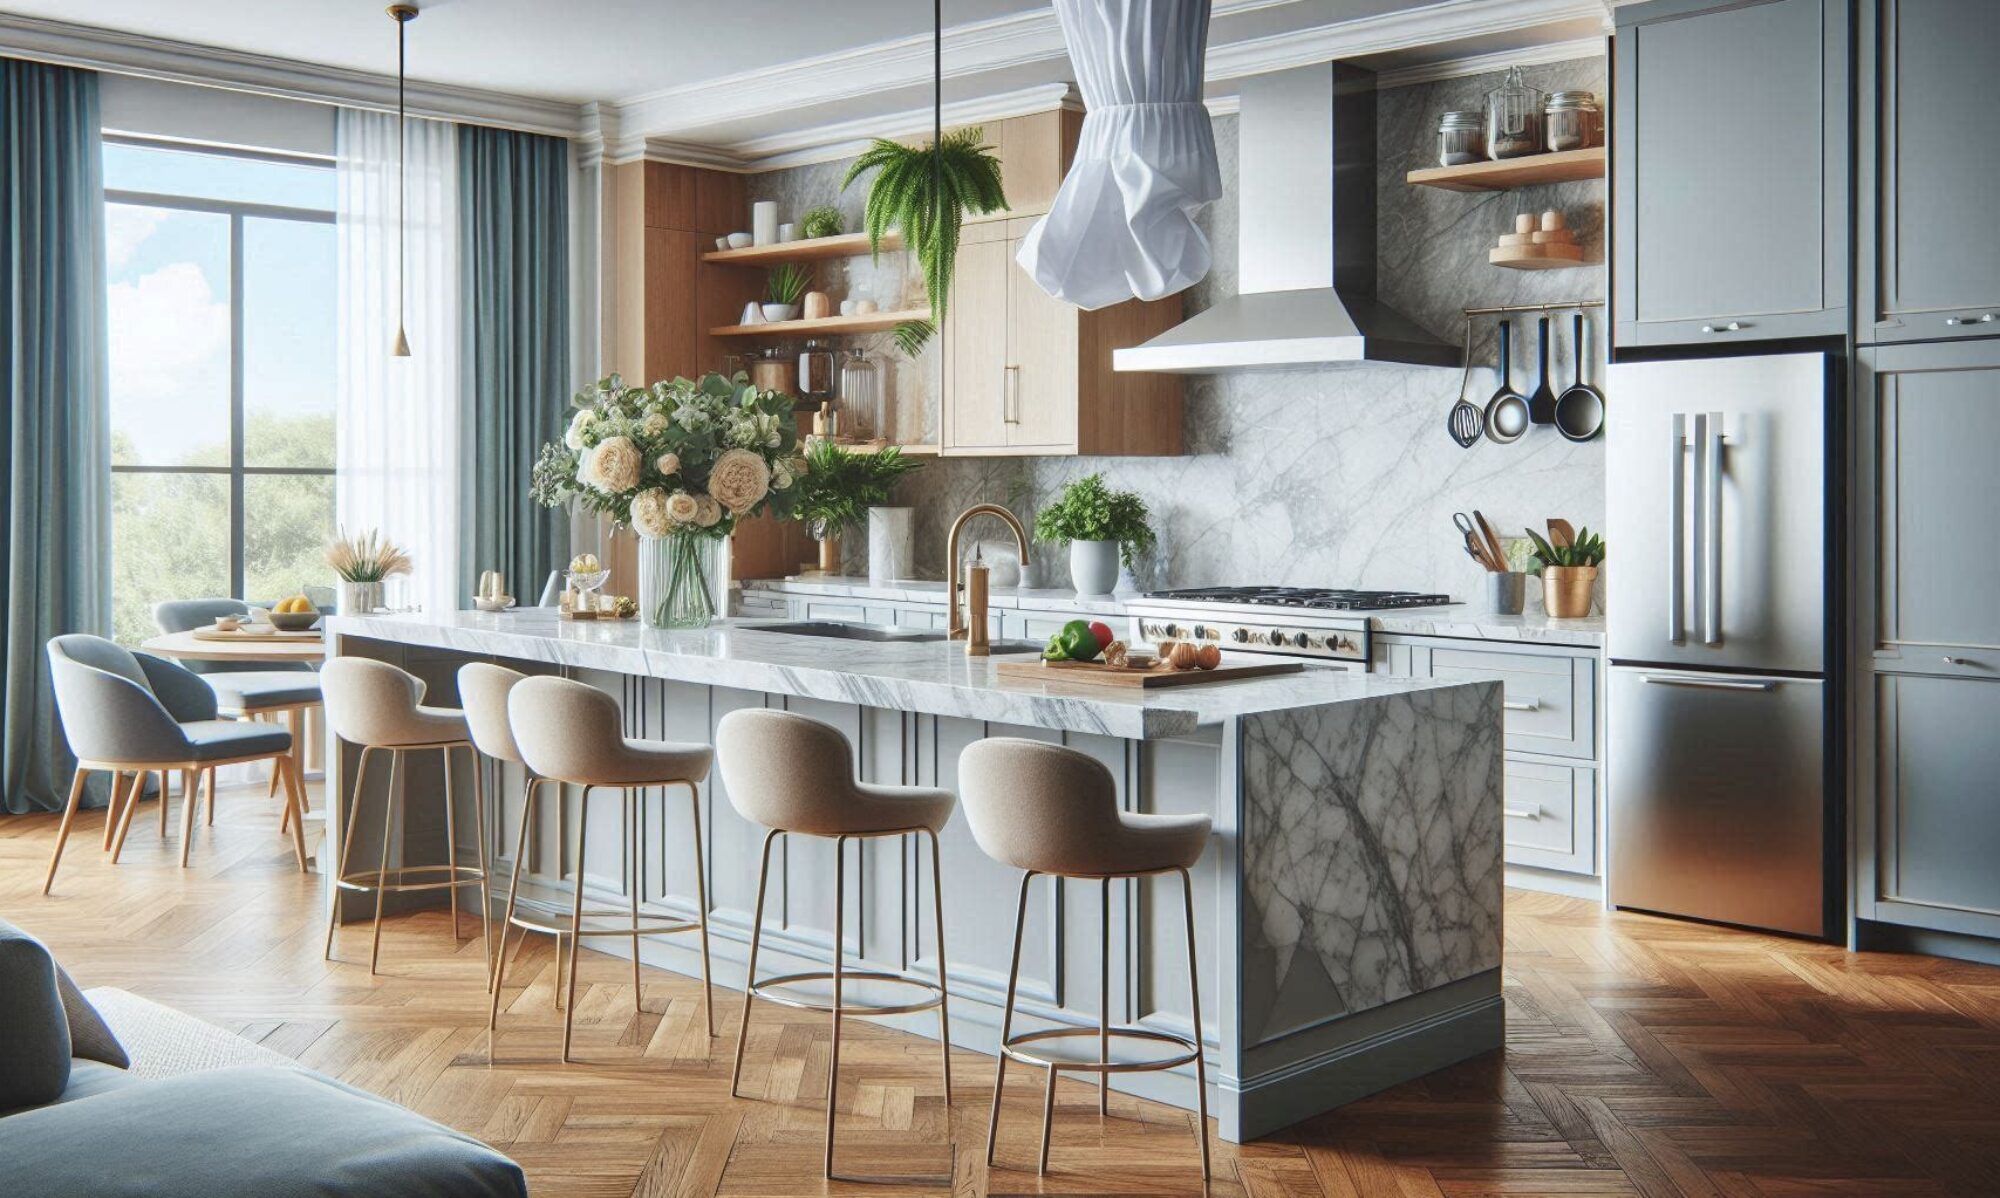
- Make the kitchen look clean and functional with minimal appliances, utensils, and dishes on the countertops. You can also add some fresh fruits, vegetables, or flowers to add some color and life to the kitchen.
- Make the dining room look ready for a meal with a tablecloth, placemats, napkins, dishes, glasses, and cutlery. You can also add a centerpiece, such as a vase of flowers, a bowl of fruit, or a candle, to make the table look more elegant and inviting.
Check and Double-Check
The final step is to check and double-check your home before the photo shoot. You want to make sure that everything is in place, and that there are no flaws or errors that might ruin the photos. Here are some things to do:
-
- Walk through your home and look at it from different angles and perspectives. You might notice some things that you missed or overlooked, such as a crooked picture frame, a wrinkled pillowcase, or a smudged mirror.
- Fix any minor issues, such as loose knobs, squeaky doors, dripping faucets, or burned-out light bulbs. You want to make sure that everything is working properly and smoothly.
- Remove any pets, children, or other people from the home during the photo shoot. You don’t want any distractions or interruptions that might affect the quality of the photos.
- Communicate with the photographer and let them know your expectations, preferences, and goals. You can also ask them for any suggestions or feedback on how to improve your home’s appearance and appeal.
I hope you find this blog post helpful and informative. If you have any questions or comments, please don’t hesitate to contact me.